Introduction
Installing an electric motor in your RC plane requires attention to the model, size, power, and balance of the aircraft. Begin by checking if the motor compartment can accommodate your new motor and verify if the battery can support its power requirements. After installation, ensure the plane is properly balanced for smooth flight. This guide will walk you through the process of installing an electric motor in your RC plane.
What is an Electric Motor and What Accessories Does It Work With?
An electric motor is the heart of your RC plane, converting electrical energy from the battery into mechanical motion to drive the propeller. There are two main types of motors: brushed motors and brushless motors.
- Brushed Motors: These are simpler, cost-effective, and ideal for smaller planes but require more maintenance.
- Brushless Motors: More efficient and longer-lasting, brushless motors are commonly used in larger planes and require less upkeep.
When installing the motor, choosing the right propeller is crucial for optimal performance. The propeller size should match the motor’s power. Additionally, the ESC (Electronic Speed Controller) regulates motor speed and ensures safe operation.
How to Choose the Right Motor for Your RC Plane
Selecting the right motor is vital for your plane’s performance. Here’s how to choose:
-
Determine the Motor’s Placement
Check the motor mount for correct placement. The motor should ensure the plane is well-balanced and positioned for stable flight. -
Consider Plane Size and Thrust Needs
Larger planes need more powerful motors. For example, a 1-meter wingspan plane may need 500-800 watts, while a 1.5-meter plane may require 1000-1500 watts. -
Ensure Proper Balance
Once the motor is installed, check the plane’s balance. The center of gravity should be near the wing’s leading edge. -
Check Compatibility with Airframe and Battery
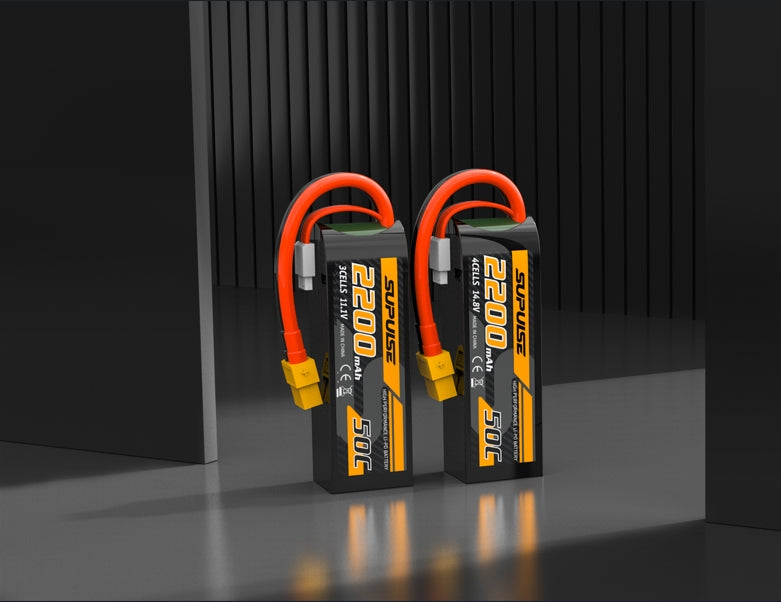
Make sure the motor fits the airframe, and the battery matches the motor's requirements, e.g., a 3S or 4S battery for a 1 to 1.5-meter plane.
Step-by-Step Guide to Installing an Electric Motor on an RC Plane
-
Align the Motor and Mount
Position the motor on the mount, ensuring correct alignment with the airframe. The motor can be mounted at the nose, mid, or tail of the plane depending on the design. -
Secure the Motor
Use screws or bolts to fix the motor, ensuring it is firmly attached to prevent movement during flight. -
Check Thrust Angle and Alignment
Ensure the motor has a thrust angle of 0-5 degrees above the horizontal plane for optimal climb and stability. -
Post-Installation Check
Spin the motor by hand to ensure smooth operation and check that the motor is properly aligned.
Connecting the Motor to the ESC and Battery
-
Solder the Motor Wires to the ESC
Solder the wires carefully, ensuring solid, clean connections. Use heat shrink tubing for insulation. -
Choose the Right Gauge Wire
Select wires that match your motor’s current. For smaller motors, 14-16 AWG works well; for larger ones, use 10-12 AWG. -
Connect the ESC to the Battery
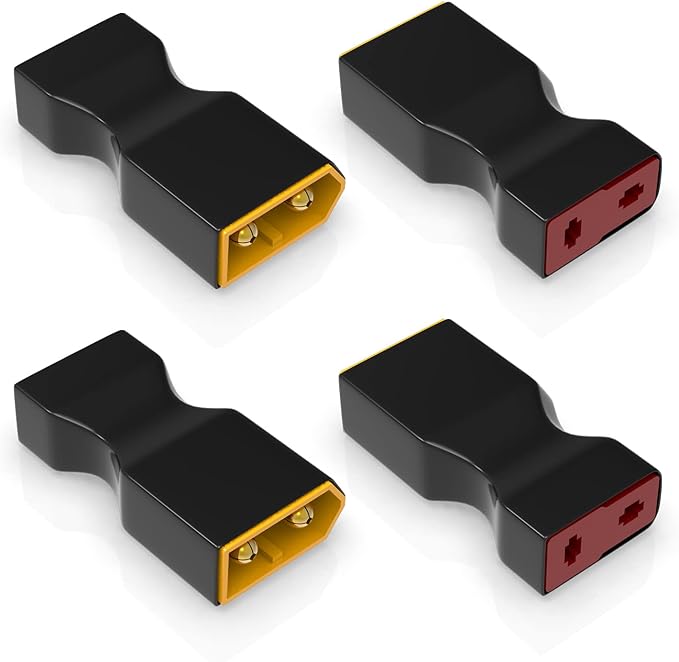
Securely connect the ESC to the battery using the appropriate connectors (e.g., XT60 or Deans). Ensure all connections are insulated.
Installing the Propeller
-
Select the Correct Propeller
Choose a propeller that matches your motor’s power. For a 1-meter wingspan plane, a 10x6-inch propeller is typical. -
Balance the Propeller
Before installation, balance the propeller using a propeller balancer to avoid vibrations. -
Attach the Propeller to the Motor Shaft
Slide the propeller onto the shaft and secure it with the nut or bolt. Avoid overtightening.
Installing the ESC (Electronic Speed Controller)
-
Select the Right ESC
Choose an ESC that matches the motor’s current rating. It should be rated 20% higher than the motor’s maximum current. -
Ensure Proper Cooling
Install the ESC in a well-ventilated area to prevent overheating. -
Connect the ESC to the Motor and Battery
Attach the ESC wires to the motor and connect it to the battery using secure connectors.
Checking the Motor Thrust Direction
-
Verify CW or CCW Rotation
Check that the motor is rotating in the correct direction based on its design. If the direction is wrong, swap two of the motor wires. -
Test the Motor’s Thrust
Test the motor to ensure it produces the correct thrust direction. Ensure the plane is balanced, and the motor runs smoothly.
Conclusion
Installing an electric motor in your RC plane requires careful planning and attention to detail. From selecting the right motor and propeller to ensuring proper balance and wiring, each step plays a key role in achieving optimal performance. By following these steps, you can successfully install your electric motor and enhance your flying experience.

